
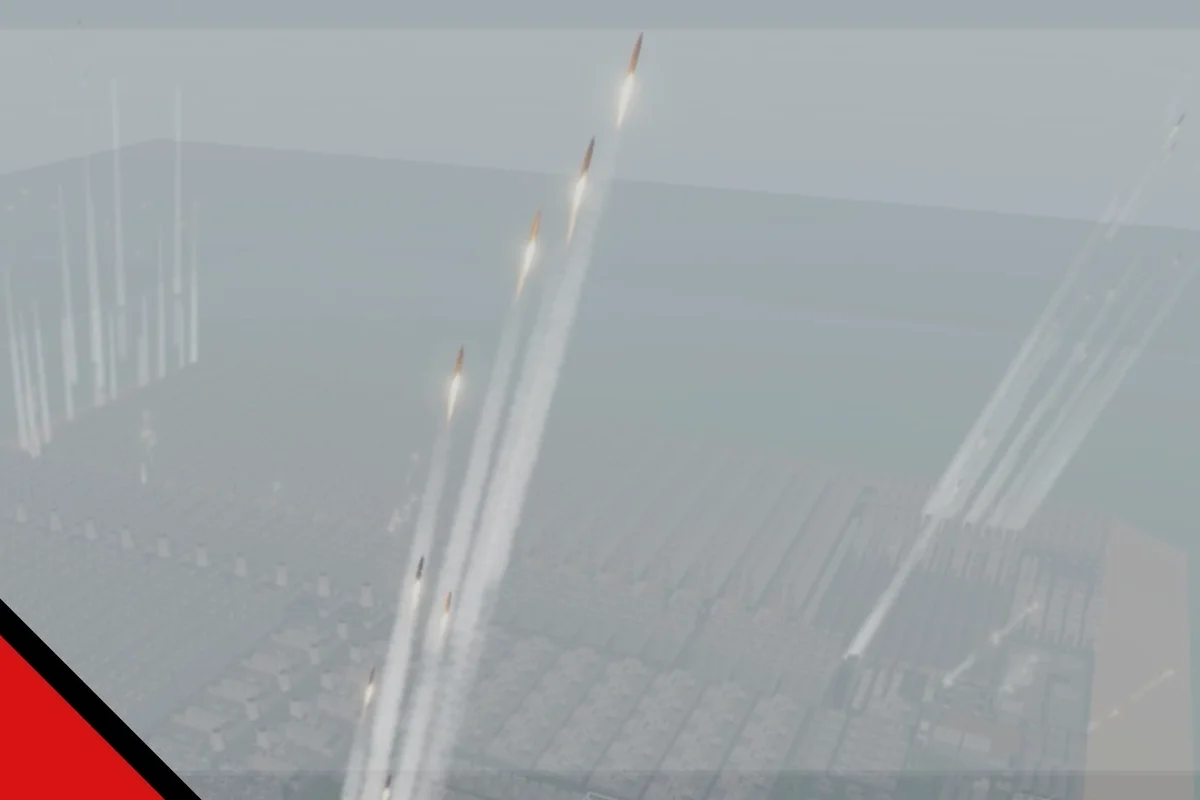
Winning a Build and Conquer conquer strategy in the V0.1 beta is not about destroying every enemy unit on the map. It is about holding captured ground long enough to starve rival nations out of the fight, which means your expansion plan must pair bunkers with continuous production from the moment your first transport touches the mainland. The verified briefing below covers the exact sequence that separates a sustainable empire from a doomed overextension. Align your build order with the broader build and conquer strategy guide to keep your economy, logistics, and defensive posture from drifting out of sync.
Core Territory Control Framework
Territory control in Build and Conquer fails when players treat captured land as a trophy rather than a forward operating base. The most consistent conquer strategy reported by community testers follows a five-step sequence that prioritizes defensive depth before offensive momentum. According to the official Roblox game page, the V0.1 beta supports up to 8 players per server, which means every hex you hold is a hex someone else wants back within minutes.
The first principle is that bunkers are not optional decorations—they are the anchor that converts a raid into a permanent annexation. Step 5 of the verified briefing states that you must hold captured ground with bunkers and continuous production, because a bunkerless beachhead collapses the moment the enemy respawns their armor column. Community footage from October 2026 shows that players who skip bunker construction lose their first mainland foothold within four minutes of landing.
The second principle is that scouting must precede commitment. Step 2 of the verified sequence instructs you to scout with cheap units or HIMARS before committing the main force, because a blind push into a fortified coastline wastes the exact production queue you need for bunker spam. Cheap scout units reveal whether the enemy has stacked anti-air or left a gap in their missile coverage.
| Territory Phase | Primary Objective | Key Structure | Common Failure |
|---|---|---|---|
| Beachhead | Secure landing zone | Bunker + repair pad | No bunker before push |
| Expansion | Cut supply routes | Forward factory | Overextending without scouts |
| Consolidation | Deny counterattacks | Air defense grid | Ignoring Sea RAM cap |
| Economic Strangle | Starve enemy treasury | Blockade + raids | Chasing kills over resources |
The third principle is that air defense stacking happens before ground expansion, not after. Step 1 of the verified briefing lists Sea RAM, Iron Dome, and RA3 interceptors as the mandatory air-defense triad, because a single drone swarm can delete an unprotected forward base in seconds. Community reports indicate that Sea RAM is limited to six per base, though this cap is a single-creator observation and should be treated as unverified until the developer confirms it.
Resource Denial Strategy and Economic Warfare
A Build and Conquer resource denial strategy works because every military unit in the beta traces back to a production chain that can be severed at specific chokepoints. Economic warfare is not about killing harvesters—it is about forcing the enemy to spend their treasury on replacements while your own economy compounds behind bunker lines. The fastest way to lose a war of attrition is to trade units one-for-one against an opponent who has already secured their resource nodes.
The core mechanic of economic warfare in the V0.1 beta is supply chain interruption. When you capture a mainland sector that contains an enemy steel factory or energy plant, you do not just gain territory—you remove their ability to produce the very units they need to retake it. This is why the conquer strategy briefing emphasizes holding captured ground rather than raiding and retreating, because only persistent occupation converts a tactical resource denial into a strategic economic collapse.
| Denial Method | Target | Economic Impact | Risk Level |
|---|---|---|---|
| Factory Raid | Steel factory | Halts armor production | High—requires deep strike |
| Node Blockade | Resource extractors | Reduces passive income | Medium—needs patrols |
| Transport Ambush | Supply convoys | Starves forward bases | Low—cheap scout units |
| Power Grid Strike | Energy plants | Slows all production | High—heavy defenses |
The most underrated economic warfare tool is the transport ambush. Step 3 of the verified briefing notes that moving troops through tunnels to reach the mainland quickly is a core maneuver, which means those tunnel exits are predictable chokepoints. A single cheap scout unit parked near an enemy tunnel exit gives you real-time intelligence on their reinforcement timing, allowing you to intercept supply convoys before they reach the front line.
Step 4 of the briefing adds a critical timing window: strike while the enemy lacks anti-air or anti-missile cover. This is where economic warfare and military pressure intersect, because an enemy who is rebuilding their air defense grid is an enemy who cannot afford to replace their harvesters. The resource denial strategy compounds when every raid forces a choice between rebuilding defenses or rebuilding economy—and most players in the beta choose defenses, which accelerates their economic collapse.
Alliance Diplomacy and the Betrayal Guide
Build and Conquer alliance diplomacy is a double-edged sword in the V0.1 beta, because the 8-player server cap means every alliance is temporary by design. The official developer group, The Slop Company, has about 6,200 members and remains the only official channel for beta announcements, but in-game diplomacy is entirely player-driven. This creates a meta where trust is a resource you spend, not a bond you keep.
The most effective alliance structure in the beta is the two-nation pact with a defined expiration. You agree to split the mainland along a specific geographic line, coordinate one joint offensive against a shared rival, and then dissolve the pact before the endgame. This works because it gives both players the economic breathing room to build their bunker networks without fighting a two-front war.
| Alliance Type | Duration | Best Use Case | Betrayal Risk |
|---|---|---|---|
| Non-Aggression Pact | Short-term | Early expansion phase | Low—mutual benefit |
| Joint Offensive | Single battle | Crushing a shared rival | Medium—loot disputes |
| Full Coalition | Until endgame | 2v1 or 3v1 scenarios | High—inevitable backstab |
| Defensive Pact | Reactive only | Countering a dominant player | Medium—trigger ambiguity |
A Build and Conquer betrayal guide must start with one uncomfortable truth: the optimal time to betray an ally is the moment their army is committed elsewhere. If your ally has pushed their main force into a rival's territory, their home base is defended only by static structures and whatever reserve they could afford. That is the window where a betrayal converts your ally's entire economy into your expansion budget.
The counterintuitive part of alliance diplomacy is that announcing your betrayal in advance can be stronger than a surprise attack. When you tell an ally that your pact expires in ten minutes, you force them to choose between recalling their offensive force or gambling that you are bluffing. Either choice costs them tempo, and tempo is the hidden resource that decides most beta matches. Community reports from October 2026 suggest that players who use explicit pact expirations win more endgames than players who rely on silent backstabs.
Advanced Conquer Execution Sequence
The verified conquer strategy briefing from community sources breaks down into a repeatable execution sequence that works across most beta matches. The order matters because each step sets up the next, and skipping ahead usually means losing your entire forward force to a counterattack you could have scouted.
Step 1: Stack air defense before landing. Sea RAM, Iron Dome, and RA3 interceptors form the defensive umbrella that lets your transports survive the approach. Without this layer, enemy drones will sink your invasion force before it reaches the beach.
Step 2: Scout with cheap units or HIMARS. Commit nothing expensive until you know where the enemy's anti-air and anti-missile coverage is thin. HIMARS gives you standoff reconnaissance that cheap infantry cannot match. A single HIMARS salvo can reveal whether a sector is defended by Iron Dome or left exposed, letting you route your landing force through the gap instead of feeding transports into a kill zone. Pair it with a few expendable scout squads to bait out hidden RA3 interceptor fire, and you will map the enemy's defensive grid for a fraction of what a failed assault would cost.
Step 3: Move troops through tunnels. Tunnel networks are the fastest way to reach the mainland, and they also serve as ambush chokepoints for your own resource denial operations. Control the tunnel exits and you control the reinforcement tempo. A single squad of engineers or a light vehicle parked at a tunnel mouth can stall an entire enemy counter-push, because the tunnel's narrow exit funnels units into a predictable single-file kill lane where your Iron Dome or RA3 interceptors can strip away the first wave before it spreads out. This is also where economic warfare compounds: every transport the enemy loses inside a tunnel is a production cycle they cannot redirect toward expansion, and the salvage from destroyed convoys feeds directly back into your own forward base construction. In beta matches, holding both tunnel exits on a contested sector consistently forces opponents to either route around through open terrain—where your HIMARS already has firing solutions—or abandon the reinforcement line entirely, which is the exact territorial momentum the conquer loop depends on.
Step 4: Strike while the enemy lacks anti-air or anti-missile cover. This is the offensive window created by your earlier scouting. Hit their economy, not their army, and force them to rebuild defenses instead of expanding. The economic logic is straightforward: every Iron Dome battery or RA3 interceptor turret the enemy rebuilds is a production cycle not spent on harvesters, forward bases, or additional expansion units. In beta matches, a well-timed strike on a mining outpost typically forces the defender to divert 2–3 build queues into replacement anti-air, which translates to roughly 60–90 seconds of stalled territorial growth. Target the resource infrastructure first—harvesters, supply depots, and forward construction yards—because destroying a harvester costs the enemy both the unit and the income stream it represented, whereas destroying a tank only costs the tank. A single HIMARS salvo aimed at a cluster of harvesters can erase more economic value than three direct engagements against the enemy's main army, and it leaves their anti-air coverage so thin that your follow-up transport wave slips through uncontested.
Step 5: Hold captured ground with bunkers and continuous production. This is the step that separates conquer strategy from raid strategy. Bunkers anchor your new territory, and continuous production means the enemy can never retake ground faster than you can reinforce it.
The sequence loops, because every successful Step 5 creates a new forward base that becomes the launch point for the next Step 1. Players who master this loop stop thinking in terms of individual battles and start thinking in terms of territorial momentum—each captured sector makes the next capture cheaper and the enemy's recovery more expensive.
Frequently Asked Questions
What is the most important part of a Build and Conquer conquer strategy?
Holding captured ground with bunkers and continuous production is the single most important element. Without bunkers, every captured sector is a temporary raid rather than a permanent annexation, and without continuous production, you cannot reinforce faster than the enemy counterattacks. This Step 5 principle anchors the entire five-step sequence.
How does resource denial strategy actually win games?
Resource denial wins games by forcing the enemy to spend their treasury on replacements and defense rebuilding instead of expansion. When you cut their steel factory or energy plant, their production chain stalls, and every raid forces a choice between rebuilding economy or rebuilding military. The compounding effect eventually makes their army unaffordable.
When should I betray my alliance in Build and Conquer?
The optimal betrayal window is when your ally's main force is committed to an offensive elsewhere, leaving their home base defended only by static structures. Announcing a pact expiration in advance can be stronger than a surprise attack, because it forces your ally to choose between recalling their army or gambling on a bluff.
Is the Sea RAM cap of six per base confirmed?
No, the Sea RAM limit of six per base is a single-creator community report and should be treated as unverified. The V0.1 beta changed frequently in October 2026, so any numeric claim not listed in the verified briefing should be cross-checked against current community testing before you build your air defense grid around it.
How do tunnels factor into territory control?
Tunnels are the fastest way to move troops to the mainland, which makes their exits predictable chokepoints for resource denial ambushes. Controlling tunnel exits lets you intercept supply convoys and reinforcements before they reach the front line, converting a movement mechanic into an economic warfare tool.