
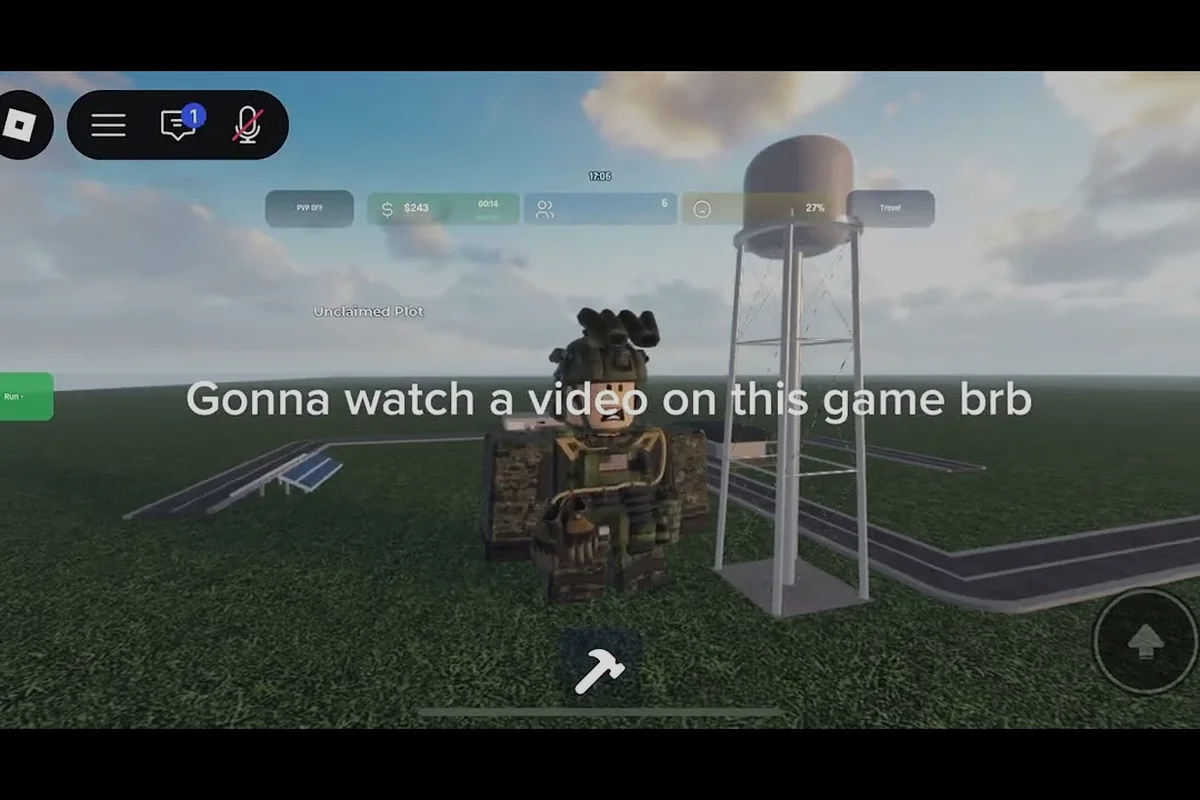
A well-executed Build and Conquer surprise attack guide matters because most V0.1 beta losses come from predictable frontal pushes, not resource gaps. The current meta rewards players who strike while the enemy lacks anti-air or anti-missile cover, then hold captured ground with bunkers and continuous production. This guide breaks down the exact raid strategy, defensive counters, and combined-arms timing that turn a standard assault into a base-breaking shock operation. But once your forward bunkers are up, the next threat often comes from above — so pair this with the air-defense priorities and detection habits in Build And Conquer How To Counter Drones to keep the captured sector from being bled dry by cheap UAV harassment.
Core Surprise Attack Framework
The foundation of any successful surprise attack in Build and Conquer is stacking air defense before you commit ground forces. Community reports from the V0.1 beta consistently show that Sea RAM, Iron Dome, and RA3 interceptors form the defensive backbone that lets your raiding party survive long enough to deal damage. The verified briefing sequence for a surprise attack guide runs through five steps: scout with cheap units or HIMARS, move troops through tunnels to reach the mainland quickly, stack air defense, strike while the enemy lacks anti-air or anti-missile cover, and hold captured ground with bunkers and continuous production.
The tunnel movement step is especially critical because it bypasses the most common defensive chokepoints. Players who ignore tunnels often lose half their raiding force before the first shot lands, while those who use them arrive with full HP and ammunition. According to community data, the V0.1 beta changed often in October 2026, so numeric claims outside the verified list should be treated as unverified. The official Roblox page for Build and Conquer confirms the game launched on 2026-08-23 with up to 8 players per server, which means every raid you plan must account for multiple defensive layers.
| Raid Phase | Key Action | Common Mistake | Verified Counter |
|---|---|---|---|
| Pre-raid | Scout with HIMARS or cheap units | Skipping recon entirely | Send 2-3 cheap scouts first |
| Movement | Use tunnels to reach mainland | Walking through open terrain | Tunnel network access |
| Air defense | Stack Sea RAM, Iron Dome, RA3 | Relying on one interceptor type | Layer all three systems |
| Strike | Hit when anti-air is absent | Attacking into full AA coverage | Wait for AA rotation gap |
| Hold | Build bunkers + continuous production | Stopping production after capture | Keep factories running |
The Sea RAM cap of six per base is a single-creator community report, not an official stat, so plan around that limit but verify it in your own matches. What matters more is the principle: air defense stacking creates a window where your ground units can operate without being shredded by enemy interceptors. This raid strategy works best when you treat the surprise attack as a timed sequence rather than a single overwhelming push.
Drone and Tank Defense Counters
Knowing how to defend against drones in Build and Conquer is just as important as launching your own raids, because the same tools that enable surprise attacks can be turned against you. The verified briefing emphasizes stacking air defense systems, which means your defensive layout should mirror your offensive setup. Sea RAM handles close-range drone swarms, Iron Dome intercepts missile-based attacks, and RA3 interceptors provide a mid-layer screen against mixed aerial threats.
The defensive side of a Build and Conquer raid strategy requires understanding what attackers look for. They scout for gaps in anti-air coverage, then commit drones or tanks through the weakest sector. If your base has six Sea RAM units clustered on one side, a competent raider will simply attack from the opposite angle. Spread your interceptors across multiple approach vectors, and keep at least one Iron Dome battery covering your production buildings, because losing factories mid-raid means you cannot reinforce your own defense.
| Defense Layer | Best Against | Weakness | Recommended Count |
|---|---|---|---|
| Sea RAM | Drone swarms, close-range air | Limited to six per base (community report) | 4-6 spread across sectors |
| Iron Dome | Missiles, artillery rockets | Vulnerable to massed drone spam | 2-3 covering production |
| RA3 Interceptor | Mixed aerial threats | Slower response than Sea RAM | 3-4 on approach vectors |
| Bunkers | Ground pushes, tank rushes | Useless against air units | 2+ near chokepoints |
Understanding how to defend against tanks in Build and Conquer requires a different approach than drone defense. Tanks are ground-based, so bunkers and terrain chokepoints matter more than air interceptors. The verified briefing mentions holding captured ground with bunkers, which applies equally to defending your own territory. Place bunkers at tunnel exits and bridge crossings, because those are the exact routes a surprise attack guide recommends for offensive movement. If you control the tunnel exits, you control the raid tempo.
Combined Arms Timing and Execution
A Build and Conquer combined arms strategy succeeds when drones, tanks, and infantry hit the enemy simultaneously from different angles. The most common failure is staggering your units so the defender can focus down each wave separately. Instead, time your drone raid to arrive just as your tank push reaches the outer wall, forcing the defender to split their anti-air and anti-tank responses. This is the core of effective raid strategy in the V0.1 beta.
The verified sequence for a surprise attack guide places air defense stacking before the strike, but combined arms timing requires you to think about what happens after the first wave. Your drones should target enemy anti-air installations first, clearing the way for your tanks to roll through. Meanwhile, infantry units should secure tunnel exits and build bunkers behind the advancing line, creating a fallback position if the raid stalls. This layered approach prevents the defender from simply rebuilding their defenses faster than you can destroy them.
Timing Your Strike Window
The best strike window in Build and Conquer is when the enemy lacks anti-air or anti-missile cover, which usually happens during a rotation or after a failed attack on your own base. Watch for the moment when an opponent pulls their Sea RAM units back for repairs or repositions their Iron Dome to cover a different sector. That gap is your signal to commit everything, because a coordinated push into an uncovered sector deals disproportionate damage before the defender can respond.
Production Continuity During Raids
Continuous production is the difference between a raid that captures ground and one that gets pushed back. The verified briefing explicitly lists holding captured ground with bunkers and continuous production as Step 5, which means your factories should never stop running during an offensive. Queue up replacement drones and tanks before you launch the initial strike, so reinforcements arrive automatically as your first wave takes losses. This warfare tip alone wins more raids than any single unit composition.
| Unit Type | Role in Combined Arms | Best Target | Production Priority |
|---|---|---|---|
| Drones | Clear anti-air, harass production | Sea RAM, Iron Dome | High — replace losses fast |
| Tanks | Break walls, push ground | Bunkers, factories | Medium — commit after AA clear |
| Infantry | Secure tunnels, build bunkers | Tunnel exits, chokepoints | Low — build once, hold |
| HIMARS | Pre-raid scouting, long-range poke | Exposed defenses | Low — use for recon |
The combined arms approach works because no single defensive system counters everything. Sea RAM shreds drones but does nothing to tanks, while bunkers stop tanks but are helpless against aerial attacks. By forcing the defender to respond to multiple threat types at once, you create openings that a single-unit raid would never find. This is the core insight behind every successful Build and Conquer surprise attack guide.
Advanced Raid Strategy and Warfare Tips
Beyond the basic five-step sequence, advanced Build and Conquer warfare tips focus on information control and psychological pressure. The verified briefing mentions scouting with cheap units or HIMARS before committing the main force, but top raiders take this further by sending false probes to trigger defensive cooldowns. When the enemy burns their Iron Dome intercepts on a cheap scout wave, your real drone raid arrives against depleted defenses.
The tunnel network also enables feint attacks that keep defenders guessing. Move a small force through one tunnel to draw attention, then send your main army through a different tunnel on the opposite side of the map. This works especially well in 8-player servers where multiple fronts create confusion about your true objective. According to community reports, the V0.1 beta meta rewards players who master this misdirection, because defenders cannot be strong everywhere at once.
Feint and Rotate Tactics
A feint attack costs almost nothing if you use cheap units, but it can force the defender to reposition their Sea RAM and Iron Dome batteries away from your real target. Once those defenses rotate, your main force hits the now-exposed sector. This tactic pairs naturally with the verified Step 4 instruction to strike while the enemy lacks anti-air or anti-missile cover, because the feint creates that exact gap.
Holding Captured Ground
After a successful raid, the difference between a temporary incursion and a permanent gain is how quickly you build bunkers and restart production. The verified briefing lists holding captured ground with bunkers and continuous production as Step 5, and this step is where most raiders fail. They celebrate the initial breakthrough, stop producing units, and get counter-attacked before their bunkers finish building. Keep your factories queued and your bunker construction started before you even launch the raid, so the transition from offense to defense is seamless.
Frequently Asked Questions
What is the most important step in a Build and Conquer surprise attack guide?
The most important step is stacking air defense before committing ground forces. Sea RAM, Iron Dome, and RA3 interceptors create a protective umbrella that lets your raiding party survive long enough to deal damage. Without this layer, enemy interceptors shred your drones and tanks before they reach the target.
How do I defend against drone raids in Build and Conquer?
Spread Sea RAM units across multiple approach vectors rather than clustering them on one side. Keep Iron Dome batteries covering your production buildings, because losing factories mid-raid prevents reinforcement. Community reports suggest Sea RAM caps at six per base, so plan your layout around that limit.
What is the best combined arms strategy for breaking enemy defenses?
Time your drone raid to arrive simultaneously with your tank push, forcing the defender to split anti-air and anti-tank responses. Drones should target enemy anti-air installations first, clearing the way for tanks to roll through while infantry secures tunnel exits and builds bunkers behind the advancing line.
When should I launch a surprise attack in Build and Conquer?
Launch when the enemy lacks anti-air or anti-missile cover, which typically happens during a defensive rotation or after a failed attack on your own base. Watch for the moment when Sea RAM units pull back for repairs or Iron Dome repositions to cover a different sector, then commit everything into that gap.
How do I hold captured ground after a successful raid?
Build bunkers immediately and keep factories running with continuous production. Queue replacement drones and tanks before launching the initial strike so reinforcements arrive automatically as your first wave takes losses. Stopping production after capture is the most common reason raids get reversed.