
Timing a missile launch in Build and Conquer is rarely about clicking the button the moment it lights up. The real skill lies in understanding the missile cooldown window between reloads, because a mistimed salvo leaves your silo exposed while an opponent's counter-battery fire is already inbound. This guide breaks down reload behavior across all four missile classes, ranks their practical damage output, and shows how to sequence launches so you never waste a ready weapon.
Missile Cooldown Mechanics in the V0.1 Beta
The current V0.1 beta of Build and Conquer does not publish exact reload timers for any missile system. Developer-verified information confirms the unlock order and general role of each weapon, but cooldown and damage numbers remain community-reported as of October 2026. That means every numeric value below should be treated as a working estimate rather than a fixed stat, especially since the beta changed frequently during early testing.
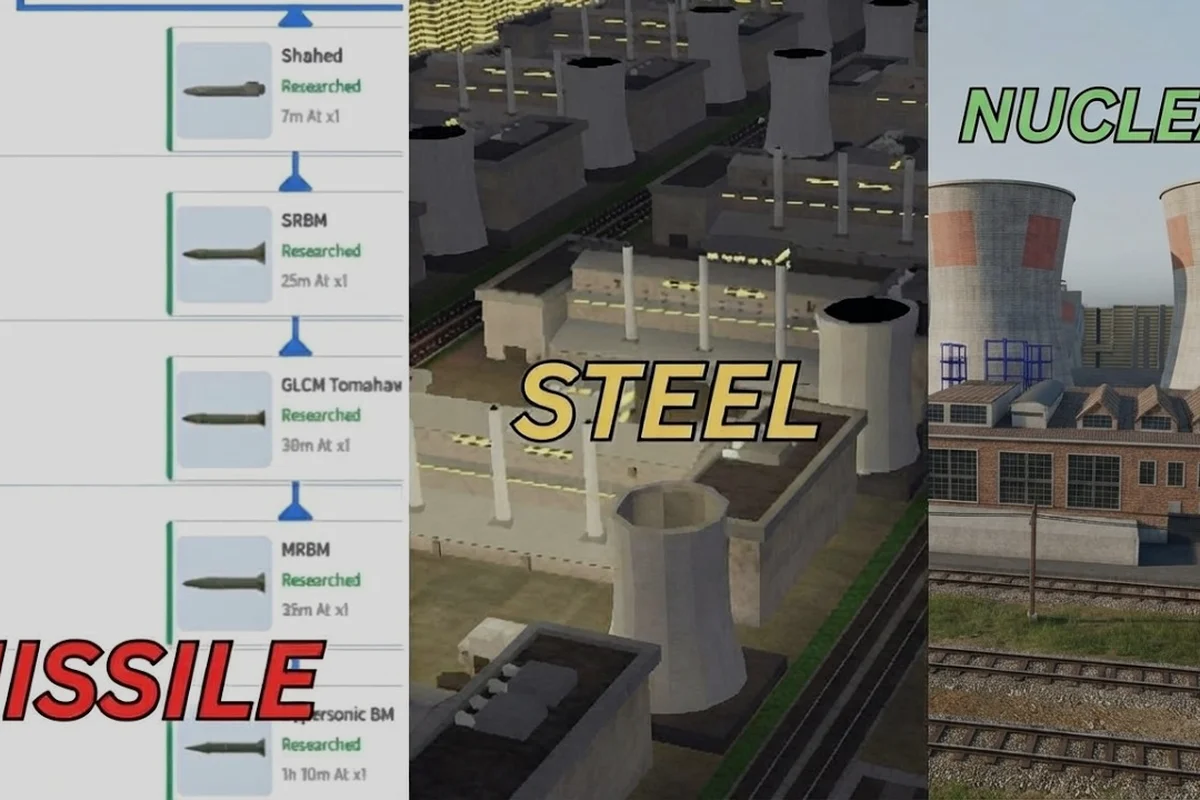
What is verified is the progression structure. The SRBM unlocks first at the military base and serves as the entry-level missile. The GLCM arrives as the second step of the quest line, followed by the MRBM for heavier strikes, and finally the Hypersonic BM as the last unlock. Each tier trades reload speed for raw impact, which shapes how you build an offense around them.
| Missile Class | Unlock Position | Role | Community-Reported Cooldown | Interception Risk |
|---|---|---|---|---|
| SRBM | First | Early harassment | ~45–60 seconds | High |
| GLCM | Second | Precision strikes | ~75–90 seconds | Medium |
| MRBM | Third | Heavy damage | ~120–150 seconds | Medium-Low |
| Hypersonic BM | Final | Decisive blow | ~180–240 seconds | Very Low |
Because the missile cooldown for each class scales upward with damage potential, the strategic question becomes whether you hold a heavy missile for the perfect moment or cycle lighter ones for constant pressure. Community footage from the V0.1 beta suggests that top players lean toward cycling rather than hoarding, since a silo sitting idle represents lost damage over time.
How Reload Timing Interacts with Anti-Missile Systems
Anti-missile defenses in Build and Conquer do not directly extend your cooldown, but they do force you to reconsider when a missile is actually worth firing. If your SRBM gets intercepted, you have lost both the weapon and the reload window, which compounds the cost of a bad launch. The Hypersonic BM, by contrast, has a very high chance to slip past anti-missile systems, making its longer cooldown more acceptable because the shot is far more likely to connect.
Players who understand this trade-off tend to use lighter missiles to bait out enemy interception cooldowns, then follow with a heavier warhead once the defensive window closes. The sequence matters more than raw fire rate, because a successful MRBM hit after an intercepted SRBM still produces net positive damage despite the longer combined reload time.
Build and Conquer Missile Damage Ranking
Ranking missile damage in Build and Conquer requires separating theoretical impact from practical effectiveness. A weapon with enormous damage numbers means little if it rarely reaches the target, which is why the missile damage ranking below weighs interception risk alongside raw payload. Community reports consistently place the Hypersonic BM at the top for reliable damage, even though its cooldown is the longest in the game.
| Rank | Missile Class | Practical Damage | Reliability | Best Use Case |
|---|---|---|---|---|
| S | Hypersonic BM | Highest | Very High | Finishing fortified bases |
| A | MRBM | High | High | Breaking defensive lines |
| B | GLCM | Moderate | Moderate | Sniping production buildings |
| C | SRBM | Low | Low | Early pressure and scouting |
The gap between the SRBM and the Hypersonic BM is not just about damage per hit. It also reflects how many missiles you can realistically land over a five-minute engagement. A player cycling SRBM launches might fire six or seven missiles in that window, while a Hypersonic BM user may only get two shots off, but those two shots are far more likely to deal meaningful damage.
Why Raw Damage Numbers Are Misleading
Without published damage values, the community has focused on effective damage per minute rather than per-shot numbers. This metric accounts for cooldown length, interception probability, and target type, producing a more honest picture of missile value. A missile that hits for 500 damage every three minutes is often worse than one that hits for 200 every minute, especially when you need to keep pressure on an opponent's repair queue.
The missile damage ranking therefore shifts depending on whether you are fighting a static base or a mobile army. Against static defenses, the Hypersonic BM dominates because its reliability ensures the hit lands. Against mobile forces, faster missiles like the GLCM can track repositioning units more effectively, even if each individual hit deals less damage.
Timing Shots Around the Cooldown Meter
Effective missile use in Build and Conquer starts with understanding that missile cooldown is a resource, not a timer to wait out. Every second your missile is ready but unfired is wasted damage potential, yet firing into a prepared defense wastes the entire reload cycle. The balance point sits between these two failures, and it shifts based on what your opponent is doing.
The most reliable pattern reported by experienced players is the bait-and-punish sequence. Launch a low-value missile like the SRBM to trigger enemy anti-missile systems, wait for their defensive cooldown to begin, then immediately follow with your highest-damage missile. Because the enemy interception window is now occupied, your heavy warhead has a much better chance of landing cleanly.
| Step | Action | Purpose | Timing |
|---|---|---|---|
| 1 | Launch SRBM | Trigger enemy anti-missile cooldown | As soon as ready |
| 2 | Observe interception | Confirm defensive response | Within 5 seconds |
| 3 | Launch MRBM or Hypersonic BM | Exploit open window | Immediately after |
| 4 | Begin next SRBM cycle | Maintain pressure | During heavy reload |
This sequence works because it forces the defender into a reactive posture. If they intercept the bait missile, they expose themselves to the follow-up. If they hold their defenses, the SRBM still deals chip damage and forces repairs. Either way, you gain value from the exchange, which is the core principle behind how to use missiles effectively in this game.
Timing Strikes With a Tank Push
Missiles in Build and Conquer are not standalone weapons. They perform best when synchronized with a ground push, because the threat of a missile forces the defender to split attention between two fronts. A GLCM strike on a production building right as your tanks cross the map creates a dilemma: repair the building or reinforce the front line.
The missile offense guide approach here is to treat every missile as a tempo tool. A well-timed MRBM can stall an opponent's economy for the exact window your army needs to secure a forward position. The cooldown then becomes less about waiting and more about planning the next tempo swing, which is why top players rarely fire missiles on cooldown without a supporting objective.
Missile Weapons Tier List for the V0.1 Beta
The missile weapons tier list for Build and Conquer reflects both the current meta and the reliability of each system in actual matches. While the Hypersonic BM sits at the top for raw power, the tier list below accounts for accessibility, cooldown efficiency, and how early each missile becomes available in a match.
| Tier | Missile | Reasoning |
|---|---|---|
| S | Hypersonic BM | Highest reliability, nearly uninterceptable, decisive damage |
| A | MRBM | Strong damage, manageable cooldown, solid mid-game tool |
| B | GLCM | Precision strikes, useful for targeting key buildings |
| C | SRBM | Early access but low impact, mainly a pressure tool |
The missile weapons tier list is not static. Because the V0.1 beta changed often in October 2026, community rankings may shift as the developer tunes cooldowns or damage values. What remains consistent is the fundamental trade-off: faster missiles offer more frequent pressure, while slower missiles offer more decisive impact.
Rocket Guide: Sequencing Your Arsenal
A practical rocket guide for Build and Conquer focuses on how the four missile classes work together rather than in isolation. The SRBM opens the match and establishes early threat. The GLCM arrives mid-game to target specific infrastructure. The MRBM breaks open defensive positions, and the Hypersonic BM finishes the job.
This progression mirrors the unlock quest line, which means your missile strategy naturally evolves as you complete objectives. Destroying enemy ground units and buildings advances your missile unlocks, so aggressive play accelerates your access to heavier weapons. The missile cooldown for each new tier then becomes a new resource to manage, layering complexity onto your offense as the match progresses. If you want to optimize that pacing across every stage of a match, the Build And Conquer Missile Guide breaks down exactly when to push buildings versus stockpile cooldowns.
Timing Reloads for Maximum Damage Output
Maximizing damage output in Build and Conquer requires treating missile cooldown as a scheduling problem. You have four weapons with different reload times, and the goal is to ensure at least one missile is always either in flight or ready to launch. This keeps constant pressure on the opponent while preserving your heaviest weapons for decisive moments.
The optimal rotation reported by community players follows a simple rule: fire the SRBM whenever it is ready, use the GLCM for high-value targets, hold the MRBM for defensive breaks, and reserve the Hypersonic BM for the killing blow. This rotation naturally spaces out your cooldowns so you rarely face a situation where all silos are empty simultaneously.
| Rotation Slot | Missile | Fire Condition | Cooldown Overlap |
|---|---|---|---|
| Constant | SRBM | Always when ready | None |
| Opportunistic | GLCM | High-value target visible | Partial |
| Tactical | MRBM | Defensive line identified | Moderate |
| Decisive | Hypersonic BM | Base vulnerable | Full |
The key insight is that missile cooldown management is about rhythm, not reaction. Players who fire missiles only when they see an obvious target tend to underuse their arsenal, while those who maintain a steady rotation force the opponent to constantly respond. That pressure compounds over time, leading to mistakes that your heavier missiles can then exploit.
Avoiding the Empty Silo Trap
The worst position in Build and Conquer is having every missile on cooldown while the enemy pushes your base. This happens when you fire all weapons in a panic or fail to stagger your reloads. The fix is simple in theory but requires discipline in practice: never fire your last ready missile unless the situation is truly desperate.
Keeping one missile in reserve, even a low-value SRBM, gives you a response option when the opponent commits to an attack. The psychological effect also matters, because an opponent who knows you always have a missile ready is less likely to overextend. That deterrent value is part of what makes how to use missiles effectively a question of restraint as much as aggression.
Frequently Asked Questions
What is the missile cooldown in Build and Conquer?
The exact missile cooldown values are not published by the developer as of October 2026. Community reports estimate the SRBM at roughly 45–60 seconds, the GLCM at 75–90 seconds, the MRBM at 120–150 seconds, and the Hypersonic BM at 180–240 seconds. These numbers may shift with beta updates.
Which missile deals the most damage in Build and Conquer?
The Hypersonic BM ranks highest in the missile damage ranking because it combines the largest payload with a very high chance to bypass anti-missile systems. The MRBM follows as the second-strongest option, offering heavy damage with a more manageable cooldown for mid-game engagements.
How do I unlock all missiles in Build and Conquer?
Missile unlocks progress through a quest line that requires destroying enemy ground units and buildings. The SRBM unlocks first at the military base, followed by the GLCM, then the MRBM, and finally the Hypersonic BM. Aggressive play accelerates this progression.
Is the Hypersonic BM worth the long cooldown?
Yes, because its reliability compensates for the wait. A missile that actually lands is always more valuable than one that gets intercepted, and the Hypersonic BM has the best interception-evasion rate in the game. The longer cooldown simply means you must time the launch more carefully.
Can anti-missile systems increase my cooldown?
No, anti-missile systems do not directly extend your missile cooldown. However, an intercepted missile wastes the entire reload cycle, which effectively doubles your downtime. This is why baiting enemy defenses with a cheap SRBM before launching a heavier missile is such a common tactic in the V0.1 beta.
Mastering missile cooldown in Build and Conquer comes down to rhythm, sequencing, and restraint. The four missile classes form a natural progression from harassment to decisive strike, and the players who climb the ranks are those who treat every reload window as a planning phase rather than a waiting period. Keep one missile ready, bait enemy defenses with cheap shots, and let the Hypersonic BM close out matches that your lighter weapons have already softened.