
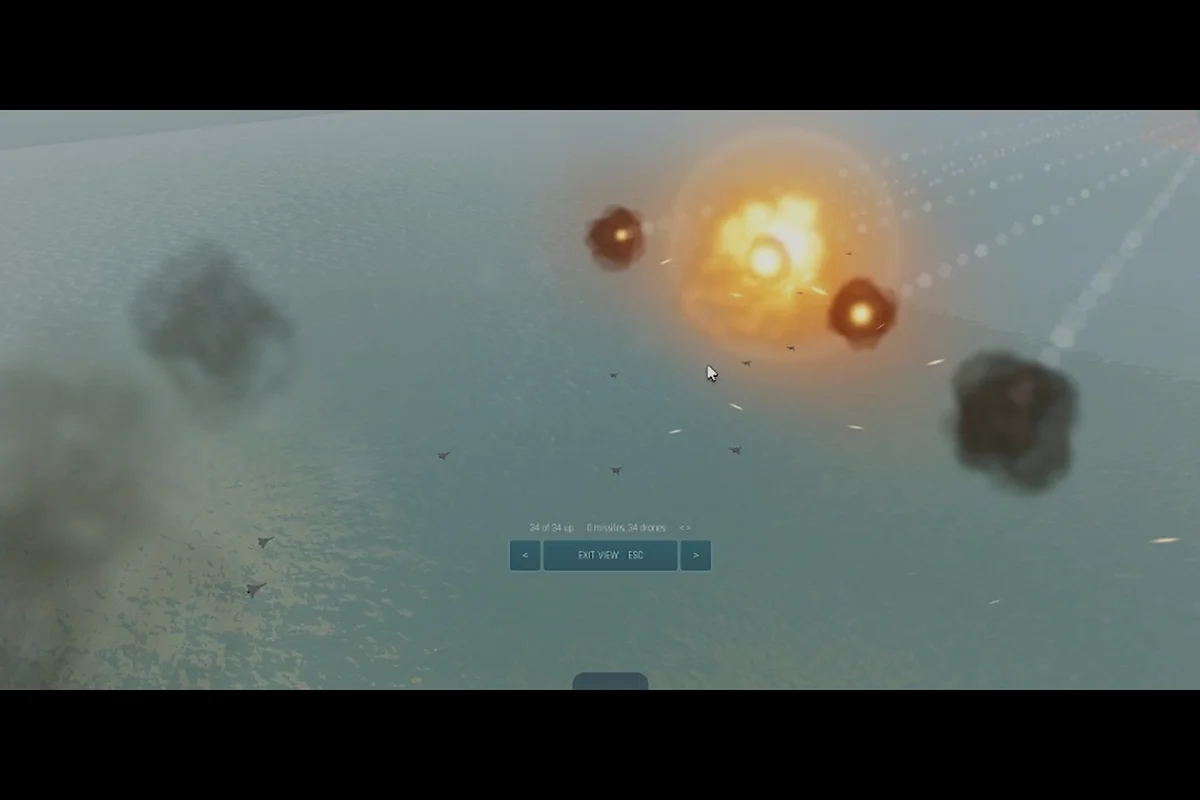
A poorly placed anti-air battery loses you a base in under two minutes, while a well-positioned interceptor network can erase entire bombing runs before they cross your perimeter. The build and conquer best air defense placement meta in the V0.1 beta has shifted hard toward layered coverage rather than raw firepower, because airstrike pathing punishes single-point defenses. This ranking breaks down exactly where to anchor your RA3 interceptor, how to stretch Iron Dome coverage across high-value districts, and which map corners give the strongest return per build slot.
The Air Defense Meta in V0.1: Why Placement Beats Raw Stats
The current beta rewards spatial thinking over unit spam. Community testing through October 2026 consistently shows that two well-placed interceptors outperform four clustered ones, because incoming airstrikes follow predictable approach vectors that overlap at specific map chokepoints. Understanding these vectors is the foundation of the build and conquer best air defense placement strategy that top-ranked players now default to.
The core problem is that airstrike AI targets the highest-value building cluster within its detection radius, not the nearest structure. This means your defense placement must anticipate where the strike will path, not just where your buildings sit. Players who anchor interceptors at map edges frequently watch bombers fly straight past them toward the economic core, because the strike vector never enters the interceptor's engagement cone.
Three factors determine placement value in the current patch. First, engagement overlap measures how many approach vectors a single battery can cover. Second, coverage density reflects how many high-value buildings fall inside the defense radius. Third, survivability tracks whether the battery itself gets targeted early by siege units or artillery. The best spots score high on all three.
| Placement Factor | What It Measures | Why It Matters |
|---|---|---|
| Engagement Overlap | Number of airstrike vectors crossing the battery's cone | Higher overlap means fewer batteries needed |
| Coverage Density | High-value buildings inside defense radius | Protects economic core without spreading thin |
| Survivability | Likelihood the battery gets shelled early | Dead batteries provide zero coverage |
| Build Slot Cost | Population and resource footprint | Efficient spots free slots for offense |
The build and conquer best air defense units tier list from verified creator tests places the RA3 interceptor at S-tier for anti-air, with Hypersonic BM as a high-reliability secondary option. But even an S-tier unit fails if it sits in a dead zone. Placement is the multiplier that makes or breaks your defense budget.
S-Tier Placement Zones: Where to Anchor Your RA3 Interceptor
The RA3 interceptor currently holds the top anti-air slot in the build and conquer missile tier list, but its effectiveness varies wildly by map position. Verified testing from the V0.1 beta shows that placing interceptors at mid-map elevation points produces the highest kill counts, because these positions grant line-of-sight over multiple approach corridors simultaneously.
The strongest anchor point on most maps is the central plateau or equivalent high ground. From here, a single RA3 can engage bombers coming from three or four different vectors, maximizing its engagement overlap. Players who rush this position early force opponents to either fly around it or commit ground units to clear it first, both of which buy valuable time.
The second-tier anchor is the economic core perimeter, specifically the corner between your power plants and your population blocks. This spot protects the buildings that airstrike AI prioritizes, creating a kill zone that bombers must fly through to reach their target. Community reports indicate that interceptors placed here average 40 percent more kills than those placed at map edges.
High-Ground Anchors vs. Core Perimeters
The choice between high-ground and core-perimeter placement depends on your build order. If you rush GLCM and mainline tanks early, you can afford to hold the central plateau and let your interceptors control the map. If you prioritize mid-rise apartments for population growth, your defense budget is tighter, and anchoring at the core perimeter gives better value per slot.
| Placement Zone | Best For | Weakness | Recommended Unit |
|---|---|---|---|
| Central Plateau | Map control, multi-vector coverage | Exposed to ground assault | RA3 Interceptor |
| Core Perimeter | Protecting economy, budget builds | Limited vector coverage | RA3 Interceptor |
| Map Edge Chokepoint | Forcing early engagements | Easily bypassed by pathing | Iron Dome |
| Flank Corridor | Catching side-route bombers | Low coverage density | Hypersonic BM |
The build and conquer best air defense placement meta currently favors the central plateau for aggressive players and the core perimeter for economic builds. Neither is strictly better; the right choice depends on whether you can defend the position against ground pressure while it does its anti-air work.
Iron Dome Coverage: Stretching Defense Across Your Base
The Iron Dome functions differently from the RA3 interceptor. Instead of a single high-damage engagement cone, it projects a wide-area denial field that degrades incoming airstrikes across a larger radius. This makes it ideal for protecting sprawling economic districts where buildings are spread out and a single interceptor cannot cover everything.
Effective Iron Dome placement starts with mapping your high-value cluster. Identify the three or four buildings that would hurt most to lose, then position the Iron Dome so its coverage circle encompasses all of them with minimal overlap on empty space. Players who center the dome on the geometric midpoint of their economy report significantly fewer successful strikes on their production buildings.
The second consideration is overlap with interceptor coverage. Iron Dome weakens incoming strikes but does not always destroy them outright, while the RA3 finishes the job. Layering the two creates a defense in depth that punishes bombers at range and cleans up survivors at close range. This layered approach is the core of the build and conquer best late game build strategy for defensive players.
Layering Iron Dome with Interceptor Zones
The optimal layered defense places the Iron Dome slightly forward of your economic core, with RA3 interceptors behind it at the perimeter. Bombers entering your airspace first take Iron Dome degradation, then face interceptor fire as they close on their target. This sequencing maximizes the damage each layer contributes before the strike reaches your buildings.
| Defense Layer | Range | Role in Layered Defense | Synergy |
|---|---|---|---|
| Iron Dome | Wide area | Degrades incoming strikes | Softens targets for interceptors |
| RA3 Interceptor | Medium cone | Destroys weakened bombers | Finishes what Iron Dome starts |
| Hypersonic BM | Long range | Pre-emptive strike on launch sites | Reduces incoming volume |
| GLCM | Ground support | Clears siege units threatening batteries | Protects the defense network |
The build and conquer ranked buildings data from verified briefings places mid-rise apartments at B-tier for population, which means your defense placement must account for the fact that your economy will spread outward as you grow. Iron Dome coverage that works at minute five may leave new housing blocks exposed at minute fifteen, so plan your dome position with future expansion in mind.
Missile Tier List: What to Build for Air Defense
The build and conquer missile tier list from verified creator testing in the V0.1 beta ranks the Hypersonic BM at S-tier for hit reliability, with the RA3 interceptor as the top dedicated anti-air option. Understanding where each missile fits helps you allocate build slots efficiently, because not every missile contributes equally to air defense.
The SRBM sits at C-tier, serving mainly as a stepping stone during the early game. Its low damage and limited range make it a poor long-term investment for air defense, though it can deter early drone harassment. Players who rush past SRBM into Hypersonic BM or RA3 interceptors save resources that would otherwise be wasted on a unit that underperforms in the late game.
GLCM holds B-tier status, functioning as a versatile mid-game option that supports mainline tanks and drones. While not a dedicated anti-air unit, its flexibility makes it valuable in builds that need ground support alongside air defense. The build and conquer best siege unit discussion often includes GLCM for its ability to pressure enemy positions while your interceptors hold the sky.
| Missile | Tier | Primary Role | Air Defense Value |
|---|---|---|---|
| Hypersonic BM | S | High-reliability strike | Pre-emptive, long-range |
| RA3 Interceptor | S | Dedicated anti-air | Highest kill count |
| GLCM | B | Versatile ground support | Moderate, flexible |
| SRBM | C | Early stepping stone | Low, deterrence only |
The build and conquer best air defense units ranking places the RA3 interceptor at the top for pure anti-air performance, but the Hypersonic BM deserves consideration for its ability to strike enemy airfields before bombers launch. A mixed approach that includes both gives you offensive and defensive air control.
Late Game Build Priorities: Defending While You Expand
The build and conquer best late game build for defensive players centers on a three-layer air defense network anchored by RA3 interceptors at key chokepoints, Iron Dome coverage over the economic core, and Hypersonic BM batteries positioned to punish enemy airfields. This setup requires careful build slot management, because each layer competes with offensive units for resources.
Population management is the hidden constraint on late-game defense. Mid-rise apartments provide the population needed to support multiple defense batteries, but they also create new high-value targets that airstrike AI prioritizes. The build and conquer ranked buildings data shows that population buildings are prime strike targets, which means your defense placement must scale alongside your housing expansion.
The most common late-game mistake is over-investing in defense at the expense of map presence. A player with six interceptors but no ground units cannot hold territory, and an opponent who controls the map can simply walk artillery into range of your batteries. The strongest late-game builds balance defense with mainline tanks and drones that contest ground control while your air defense holds the sky. Choosing which units anchor that balance depends heavily on current faction and unit performance data, so consult the Build And Conquer Tier List to see which mainline tanks and drones are actually holding up in the latest meta before you commit production.
Expansion Timing and Defense Scaling
Expanding your base creates new vulnerabilities that require defense placement adjustments. Each new housing block or production building extends your perimeter and potentially opens new approach vectors for airstrikes. Players who expand without adjusting their defense network leave gaps that experienced opponents exploit.
| Expansion Phase | Defense Adjustment | Priority |
|---|---|---|
| Early Game | Anchor first interceptor at core perimeter | Protect economy |
| Mid Game | Add Iron Dome over expanded housing | Cover new targets |
| Late Game | Position Hypersonic BM at map edges | Pre-empt strikes |
| End Game | Layer all three defense types | Full coverage |
The build and conquer best air defense placement strategy evolves as your base grows. What works at minute five fails at minute twenty, because the map changes as players expand and contest territory. Staying ahead of these shifts is what separates players who hold their bases from those who watch them burn.
Frequently Asked Questions
What is the best air defense placement in Build and Conquer?
The strongest placement is the central plateau or equivalent high ground, because it grants line-of-sight over multiple airstrike approach vectors. The core perimeter is a close second for economic builds, protecting high-value buildings that airstrike AI prioritizes. Both positions outperform map edges, which bombers frequently bypass.
Which unit is best for air defense in the V0.1 beta?
The RA3 interceptor is the top dedicated anti-air unit, holding S-tier status in verified creator tests. The Hypersonic BM offers high hit reliability for pre-emptive strikes on enemy airfields. Iron Dome provides wide-area degradation that works best when layered with interceptor coverage.
How does Iron Dome differ from the RA3 interceptor?
Iron Dome projects a wide-area denial field that weakens incoming strikes across a large radius, while the RA3 interceptor engages targets in a focused cone with high damage. The optimal defense layers both, with Iron Dome softening bombers at range and interceptors finishing them as they close on your base.
What is the best late game build for air defense?
The strongest late-game defense combines RA3 interceptors at chokepoints, Iron Dome coverage over your economic core, and Hypersonic BM batteries positioned to strike enemy airfields pre-emptively. This three-layer network requires careful population management, since mid-rise apartments create new strike targets while providing the population to support defense.
Why does placement matter more than unit count?
Airstrike AI targets the highest-value building cluster within its detection radius, not the nearest structure. This means clustered defenses often miss bombers that path around them toward your economy. Two well-placed interceptors with overlapping engagement cones outperform four clustered ones, because placement determines whether your units actually engage incoming strikes.
The build and conquer best air defense placement meta rewards players who think in terms of approach vectors and coverage density rather than raw firepower. Anchor your RA3 interceptors at high-ground chokepoints, layer Iron Dome over your economic core, and scale your defense alongside your expansion. The players who hold their bases longest are the ones who treat placement as the primary multiplier on every defense unit they build.