
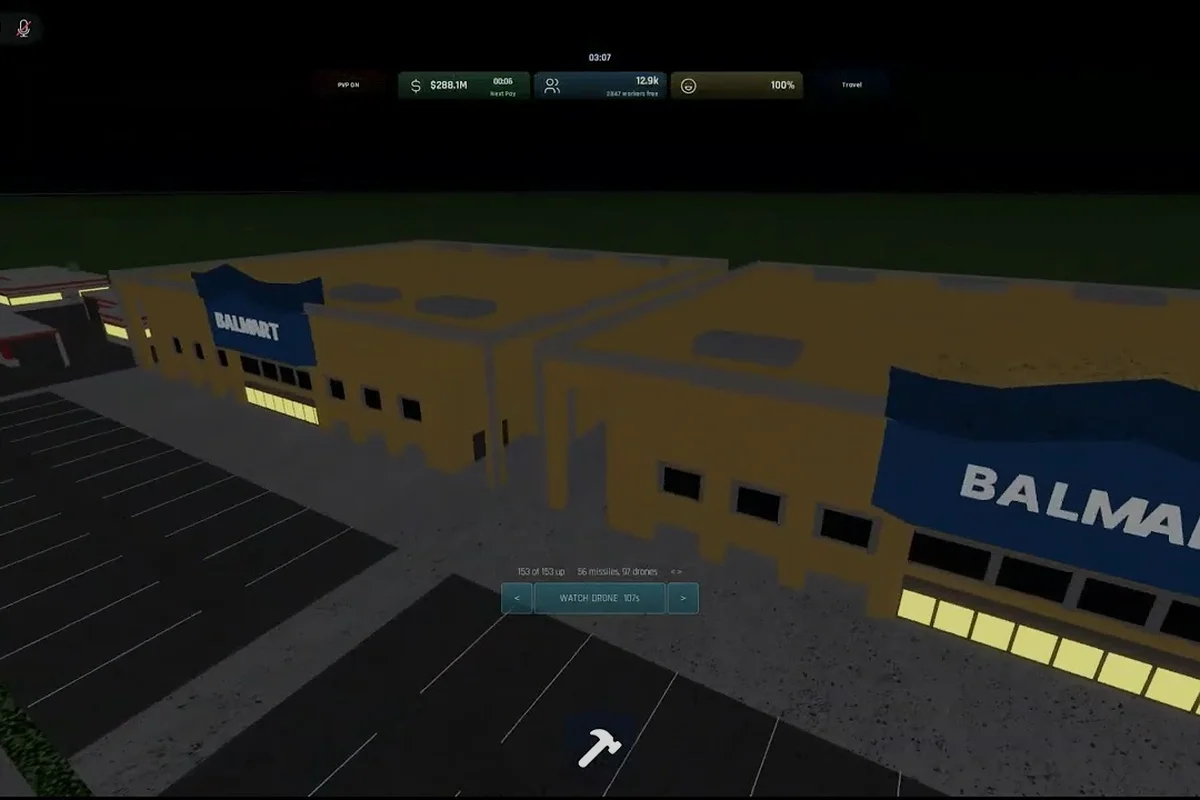
The Build and Conquer S tier build in the V0.1 beta leans on a single counter-strike loop: layer Hypersonic BM missiles into a deep strike reserve, pair them with RA3 interceptors as your top air-defense net, and cap the base with Sea RAM units. Top players run this meta strategy because the combination delivers the highest reliable hit rate against shielded missile bases while keeping your air space untouchable by strike wings. The next sections break down the build, its counters, and how to scale it without bankrupting your economy.
What the S Tier Build Actually Looks Like in V0.1 Beta
The Build and Conquer S tier build is not a single weapon. It is a layered roster: a C-tier foundation that unlocks fast, an S-tier strike core that wins wars, and an A-tier ring of secondary units that patch the core's weak spots. Community testing in the October 2026 beta cycles puts the loadout at the top of every ranked ladder because every piece compounds the next.
The Three-Tier Roster Breakdown
-
C tier (foundation, replace fast): SRBM launchers and basic early weapons. These are stepping stones that fund and unlock better units — keep them online long enough to research the next tier, then scrap or phase them out.
-
S tier (strike core, never replace): Hypersonic BM missiles for high-reliability long-range strikes and RA3 interceptors as the top anti-air pick. This is the loadout the build is named after.
-
A tier (support ring): MRBM launchers, Iron Dome batteries, Sea RAM (capped at 6 per base), and income anchors such as Malls that keep the missile economy alive.
Why This Meta Strategy Works
Hypersonic BM gets singled out as the S-tier unit because its hit reliability is consistent across shielded and unshielded targets — something slower missiles cannot promise. RA3 interceptors fill the gap that Hypersonic BM cannot: they are the only anti-air unit that consistently shreds enemy strike wings before they reach your launcher rings. Together, they form a closed loop where offense opens holes and defense seals them.
The A-tier ring is not optional. Without MRBM you have no mid-range pressure, and without Iron Dome you are one bomber pass away from losing your launcher cluster. The best army composition in Build and Conquer is therefore not a wall of one unit type — it is three concentric rings that each solve a different problem the others cannot.
| Unit | Tier | Role | Replace After |
|---|---|---|---|
| SRBM | C | Early pressure, unlock ladder | First income spike |
| Hypersonic BM | S | Long-range strike core | Never |
| RA3 Interceptor | S | Anti-air, strike wing denial | Never |
| MRBM | A | Mid-range pressure, splash | Phase out only at 6 bases |
| Iron Dome | A | Anti-missile screen | Replace with Sea RAM at scale |
| Sea RAM | A | Late-game anti-ship, anti-missile | Capped at 6 per base |
| Mall (income) | A | Funding the missile economy | Add, never replace |
Community note: tier placement is an editorial judgment based on creator tests in the V0.1 beta, not an official statistic. Treat any number outside the table as unverified until you cross-check it on the Build and Conquer community discussion on Reddit.
Early-Game Build Order and Best Money Maker Setup
The best early game build in the V0.1 beta is short on purpose: every hour spent in C-tier units is an hour your opponent is racing to S-tier. A clean Build and Conquer best early game build is therefore a finance plan first and a military plan second. Cash flow decides which unit you unlock next, so the early game is really a question of which buildings you bring online and in what order.
The Four-Phase Early-Game Build Order
-
Phase 1 — Income anchor (0:00–3:00): Drop a single Mall and a small residential cluster. Do not over-build. The Mall is your best money maker because it pays out steadily without requiring active management, and that reliable trickle is what unlocks your first serious research.
-
Phase 2 — C-tier pressure (3:00–6:00): Add SRBM launchers and a couple of basic turrets. Use SRBMs to scout enemy base layouts and chip away at unprotected targets. The data you collect in this phase decides which S-tier direction you commit to.
-
Phase 3 — Research pivot (6:00–9:00): Once your economy stabilizes, immediately route research toward Hypersonic BM. Do not detour through every A-tier unit first — the goal is to reach S-tier before your opponent does.
-
Phase 4 — Air denial (9:00–12:00): With Hypersonic BM queued, add a small ring of RA3 interceptors. Even two or three of them is enough to discourage enemy bomber runs while your strike core finishes its first volley.
Best Money Maker Buildings Ranked
| Income Source | Tier | Best Use | Payoff Speed |
|---|---|---|---|
| Mall | A | Steady trickle, all phases | Slow but uninterrupted |
| Mid-rise apartments | B | Population scaling, secondary income | Medium |
| Trade route hubs | A | Burst income windows | Fast but volatile |
| Tax offices | C | Early filler, replace later | Slowest |
The best money maker in the V0.1 beta is the Mall, not because it has the highest burst income, but because its income is uncapped by population and immune to single-event sabotage. Trade routes can be raided, apartments can be depopulated by strikes, but a Mall pays out as long as it stands. For a deeper dive on routing cash into the S-tier build, the Build and Conquer fastest money method breakdown covers trade-hub timing and treasury windows that complement this early-game order.
The critical mistake in this phase is treating income buildings as a long-term investment. They are not. They are a bridge to S-tier, and the moment your Hypersonic BM research finishes, every spare dollar should reroute into the strike core and the RA3 interceptor ring. The best defense system in Build and Conquer costs more than early players expect, and underfunded air defense is the most common reason S-tier builds collapse at minute 15.
The Best Army Composition: Strikes, Air Denial, and the Anti-Missile Ring
A strong best army composition in Build and Conquer is structured the same way regardless of map: a deep strike reserve, a wide air-denial net, and a layered anti-missile ring. The S-tier build commits hard to this structure and pays the price in early-game fragility. Once it comes online, no other build in the V0.1 beta trades shots with it cleanly.
Strikes: Hypersonic BM as the Win Condition
Hypersonic BM is the unit that decides wars. Its hit reliability is the single highest among all missile types in the V0.1 beta, and that reliability is what lets experienced players plan multi-volley strike sequences against shielded bases. A typical opener is two to three Hypersonic BM silos loaded with a synchronized salvo aimed at the same enemy launcher cluster, followed by a waiting phase to let cooldowns reset.
Do not spread Hypersonic BM across the map. Concentrate them behind your Iron Dome ring and let your RA3 interceptors handle the air threat. Spreading strike silos invites piecemeal losses and breaks the cadence that makes the salvo timing lethal.
Air Denial: RA3 Interceptors at the Edge
The RA3 interceptor is the top anti-air unit in the V0.1 beta because it draws aggro from enemy strike wings without breaking formation. Two to three RA3 pads at the outer edge of your base absorb the first bomber wave, which gives your Hypersonic BM enough time to retaliate before the second wave arrives.
The best defense system in Build and Conquer is not a single building — it is the RA3 + Iron Dome + Sea RAM stack. RA3 holds the air, Iron Dome eats missile swarms, and Sea RAM (capped at 6 per base) finishes off the stragglers. A deeper look at how to position these three units is in the Build and Conquer best air defense placement guide.
| Defense Layer | Unit | Role | Cap |
|---|---|---|---|
| Outer ring | RA3 Interceptor | Anti-air, bomber denial | None observed |
| Middle ring | Iron Dome | Anti-missile screen | None observed |
| Inner ring | Sea RAM | Anti-ship, final anti-missile | 6 per base |
| Hidden | Hypersonic BM | Counter-strike reserve | Backline only |
Mid-Range Pressure: MRBM and Why It Stays
MRBM is the A-tier unit most players cut too early. It is not as flashy as Hypersonic BM, but its mid-range pressure is what stops opponents from snowballing after you reveal your strike core. Keep two or three MRBM launchers in your composition until you have at least four full bases — that is the threshold where you can afford to drop them for more S-tier.
Top Vehicles and Mobile Units Worth Funding
Build and Conquer top vehicles are not a separate category from the strike core. They are the mobile half of the S-tier build: units you park outside your base, rotate between fights, and use to scout the map. The best army composition in the V0.1 beta only works if the mobile half is paid for, and skipping it is the second most common reason S-tier builds collapse.
Mainline Tanks and Drones: B-Tier Workhorses
Mainline tanks and drones sit at B tier in the V0.1 beta. They are not the loadout you advertise, but they are the units that hold ground between your launcher rings and the enemy strike wings. Mainline tanks draw fire that would otherwise land on your immobile silos, and drones provide line-of-sight that your launchers need to lock on to distant targets.
The B-tier placement is fair. They do not win wars on their own, but a base defended by Hypersonic BM and RA3 without tank screen loses to coordinated ground pushes. Keep at least a squad of mainline tanks on patrol between your bases, and rotate a drone wing over your strike reserves to spot incoming bomber wings.
GLCM and the Mobile Anti-Structure Role
GLCM (ground-launched cruise missile) is also a B-tier unit, and its job is to fill the gap between SRBM and Hypersonic BM. GLCM is slower than Hypersonic BM but cheaper per salvo, which makes it the right choice for harassing enemy income buildings while you save your S-tier salvos for the launcher rings. Treat GLCM as a pressure tool, not a finisher.
| Vehicle | Tier | Role | When to Use |
|---|---|---|---|
| Mainline tank | B | Ground screen, aggro draw | Always rotate |
| Drone | B | Recon, line-of-sight | Patrol over strike reserves |
| GLCM | B | Cheap pressure, anti-income | Between Hypersonic BM salvos |
| Hypersonic BM (mobile) | S | Finisher | Save for shielded targets |
A common mistake is treating the B-tier units as dead weight. They are not. They are the units that buy time for your Hypersonic BM cooldowns to reset, and time is the only resource the S-tier build cannot buy back. For broader context on which vehicles sit where in the meta, the Build and Conquer vehicle tier list maps the full ranking including tanks, drones, and mobile missile carriers.
Meta Strategy: Timing Windows and How Top Players Run the Build
The Build and Conquer meta strategy behind the S-tier build is timing. A late Hypersonic BM volley loses to an early Iron Dome. A misplaced RA3 pad wastes its range. Top players win with this build because they know the minute-by-minute windows where the S-tier build is strongest, weakest, and ready to swing.
The Three Timing Windows
-
Window 1 (0:00–8:00) — Foundation. C-tier only. One Mall, a small residential cluster, SRBM for scouting. No S-tier investment yet. The goal is to exit this window with enough cash to research Hypersonic BM and queue at least two RA3 pads.
-
Window 2 (8:00–15:00) — Strike Pivot. Hypersonic BM goes online, RA3 pads come up, and you fire your first probing salvo at an enemy income target. The build is fragile here — you have the strike core but not the anti-missile ring yet. Avoid open-field fights; trade strikes from inside your base.
-
Window 3 (15:00+) — S-Tier Online. Iron Dome, Sea RAM, and a full RA3 ring are up. This is when the S-tier build becomes the best defense system in the V0.1 beta. Now you can rotate Hypersonic BM salvos against shielded bases and trust your defense ring to absorb the retaliation.
Counter-Builds and How to Handle Them
The S-tier build has two real counters in the V0.1 beta: a faster SRBM rush and a coordinated drone+bomber opener. Both rely on catching the build before Window 2. If you see an opponent stack SRBM before minute 6, do not race to Hypersonic BM — rush your RA3 pads to 3 and let your Iron Dome hold the line until your research catches up. If you see drone scouts probing your outer ring before minute 10, queue a second RA3 pad immediately and keep your Hypersonic BM silos behind your Iron Dome.
For broader PvP context and how to fit this build into multi-front wars, the Build and Conquer strategy guide covers alliance play and counter-build sequencing that complements the timing windows above.
Frequently Asked Questions
What is the S tier build in Build and Conquer V0.1 beta?
The S tier build centers on Hypersonic BM missiles paired with RA3 interceptors as the strike core, supported by an A-tier ring of MRBM, Iron Dome, and Sea RAM (capped at 6 per base). Income is funded by a Mall anchor and mid-rise apartments for population. The loadout is rated S tier because Hypersonic BM has the highest reliable hit rate against shielded targets, and RA3 is the only unit that consistently denies bomber wings in the current beta.
Is Hypersonic BM the best missile in the V0.1 beta?
Yes, based on community testing in the October 2026 beta. Hypersonic BM outranks MRBM, GLCM, and SRBM on hit reliability and shielded-base penetration, which is why it sits at the top of the Build and Conquer tier list. Treat any specific damage number as unverified — the beta tuned these values often, and only the tier placement is stable.
How many Sea RAM can I build per base?
Sea RAM is hard-capped at 6 per base in the V0.1 beta. This cap is intentional and pushes players toward the layered RA3 + Iron Dome + Sea RAM stack rather than spamming a single unit. Build the cap on every base once you reach Window 3, since the Sea RAM ring is what closes the loop on incoming missile swarms.
What is the best early game build before S tier?
A single Mall plus a small residential cluster, followed by SRBM for scouting and chip pressure. Route all spare income into Hypersonic BM research the moment your economy stabilizes. Avoid over-investing in C-tier units — they are stepping stones, not a destination, and the best early game build is the one that exits the C tier before your opponent does.
Can the S tier build be countered?
Yes. The two real counters in the V0.1 beta are a fast SRBM rush before minute 8 and a coordinated drone+bomber opener. Both rely on catching the build during Window 2, when the strike core is online but the anti-missile ring is not. Defending against them means rushing your RA3 pads to 3 and keeping your Hypersonic BM silos behind Iron Dome until your full defense ring is up.