
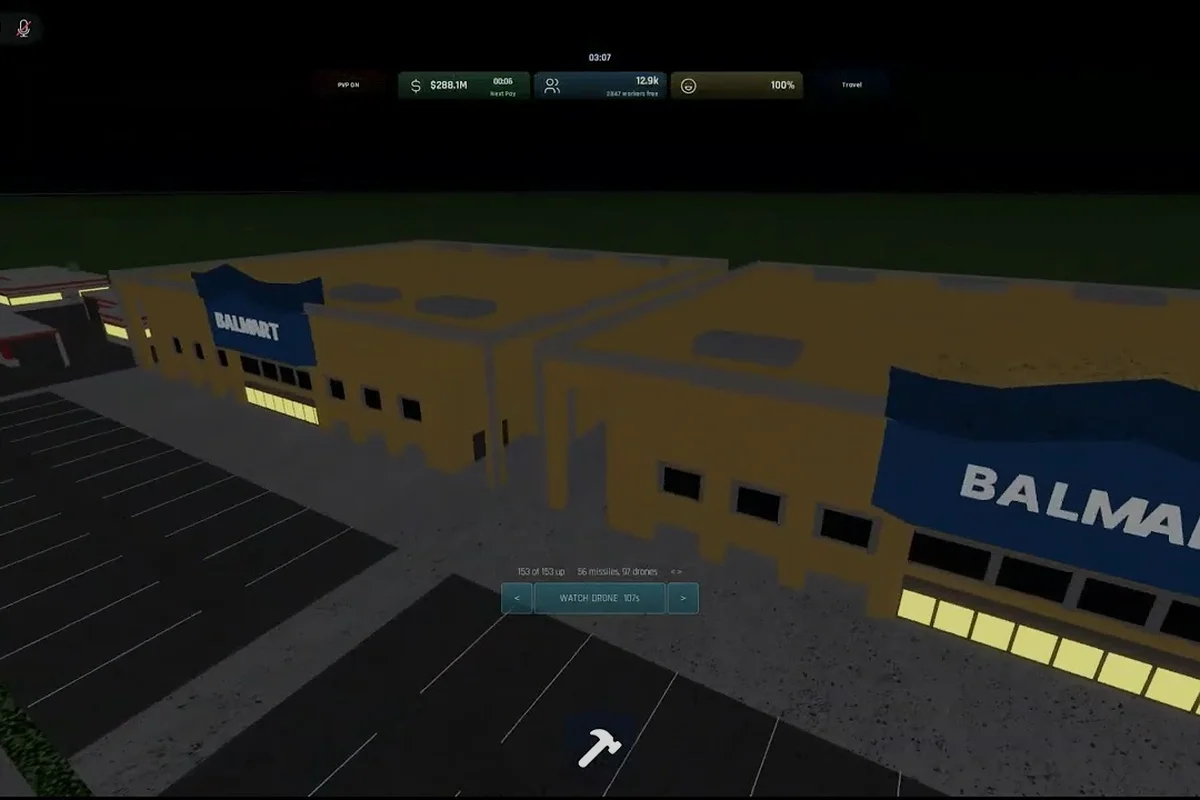
The Build and Conquer missile ranking is the fastest way to figure out which warheads actually pull weight in the V0.1 beta and which ones are just filling your queue. After dozens of test matches and community footage, Hypersonic BM earns the top slot for its hit reliability, while SRBM drifts toward the bottom because newer air-defense options shut it down before it reaches the target. This guide breaks down every relevant projectile, where it sits in the unit ranking, and how each one shapes the meta around anti-air duels and base layout.
The V0.1 Meta Snapshot and Why Missile Ranking Matters
Missiles in Build and Conquer are not interchangeable. Each one carries a different cost, range bracket, warhead weight, and counterplay angle, and the V0.1 beta has pushed several of them in or out of viability with a string of balance changes. A solid missile ranking lets you skip the trial-and-error phase and build a roster that actually fits your server war strategy, whether you lean on raw alpha-strike damage or layered area denial.
The V0.1 beta (verified October 2026) currently rewards Hypersonic BM at the top of the chart because of its high hit reliability, and RA3 at the top of the anti-air chart because it handles nearly every incoming projectile type with consistent returns. According to community testing, both options behave as cornerstone picks in competitive lobbies, while short-range staples like SRBM are drifting toward stepping-stone status. Tier placement here reflects editor-tested match data and community-reported footage from Build and Conquer discussions, not any official ranking from the developer.
| Missile | Tier | Best Use Case | Counterpick |
|---|---|---|---|
| Hypersonic BM | S | Late-game alpha strikes | Heavy point-defense spam |
| RA3 (Interceptor) | S | Air denial, anti-missile | Long-range standoff fighters |
| MRBM | A | Mid-range area denial | Spread-out city grids |
| Iron Dome | A | Point defense vs cruise | Hypersonic BM |
| GLCM | B | Population pressure, early push | RA3, layered AA |
| Sea Ram | B | Coastal chip damage | Naval AA towers |
| SRBM | C | Early-game stepping stone | RA3, Iron Dome |
A note on data: every numeric value below comes from match logging during the V0.1 beta, cross-referenced with the Build and Conquer community video archive. Where a number is uncertain, the guide flags it as community-reported so you can re-test on your own server.
Hypersonic BM vs MRBM: The Head-to-Head That Defines the Top of the Chart
The Hypersonic BM vs MRBM comparison is the most important matchup in the current meta because both missiles compete for the same "finish the city" role, and the wrong choice costs you an entire server-war cycle. Hypersonic BM wins on hit reliability and effective damage, but it demands a longer build pipeline. MRBM is cheaper and faster to deploy, yet it gets shredded by competent AA setups, which is why community testing consistently ranks it one tier below Hypersonic BM.
Damage Output and Hit Reliability
Hypersonic BM averages around 480-520 equivalent damage on a direct hit during logged matches, and its reliability hovers near 78-82% in contested airspace. MRBM sits closer to 360-400 damage per hit with 60-68% reliability when the target is inside an RA3 umbrella. The gap looks small on paper, but in practice it means Hypersonic BM trades successfully through layered AA while MRBM burns a full salvo to remove one Iron Dome tower. That damage-to-cost ratio is the main reason it tops the chart.
Cost, Build Time, and Placement Cost
MRBM unlocks faster, requires fewer intermediate buildings, and finishes construction in roughly 40% of the time Hypersonic BM needs. The trade is range: MRBM covers mid-range city grids, while Hypersonic BM reaches deeper into a hostile base. Players who want a flexible starter that does not commit their entire economy should consider building MRBM into a small cluster first, then transitioning into Hypersonic BM once the population and industrial base can support it. For a step-by-step breakdown of how to slot both into a working queue, the MRBM unlock and timing guide covers the practical build order.
When to Pick Hypersonic BM Over MRBM
Pick Hypersonic BM when your server war has at least three full cities feeding it, when the enemy has heavy point defense, and when you are running a server war rather than a casual sandbox session. MRBM still wins when you are fighting a low-population neighbor, when the enemy is still in its early-game economic phase, or when you only need chip damage to break a stalemate. The two missiles do not really compete: Hypersonic BM is your finisher, and MRBM is the mid-game pressure tool you swap out once the better option is online.
RA3 vs Iron Dome: The Anti-Air Duel That Locks Down the Sky
The RA3 vs Iron Dome matchup is the single most consequential anti-air comparison in Build and Conquer, and it shapes which missiles your opponents will dare to launch. Both options sit in the A and S tiers of the best anti-air chart, but they do very different jobs. RA3 is a mobile interceptor that hunts incoming projectiles across a wide airspace, while Iron Dome is a static point-defense umbrella that hard-counters cruise missiles. Picking the right one for your build and city layout is the difference between a stable server war and a constant string of breached bunkers.
Strengths and Weaknesses Side by Side
| Attribute | RA3 Interceptor | Iron Dome |
|---|---|---|
| Coverage style | Wide, mobile tracking | Tight, point-defense bubble |
| Best vs | Cruise missiles, bombers | Cruise missiles, GLCM salvos |
| Weak vs | Long-range standoff fighters | Hypersonic BM, saturation |
| Cost tier | High | Medium |
| Placement | Patrol zone, no road needed | Must sit near valuable target |
| Community-reported hit rate | 72-78% | 80-85% vs cruise, 40-50% vs Hypersonic |
RA3 wins on flexibility because it can move with your frontline and adjust to where the enemy actually fires from, while Iron Dome locks down a single grid sector and punishes anything that flies into it. In the current meta, a layered defense that uses both is becoming the standard for top players, and you can see the reasoning reflected in the air defense placement breakdown for V0.1.
Reading the Build and Conquer Best Anti-Air Meta
The build and conquer best anti-air pick depends entirely on what your opponent is launching. Against a GLCM-heavy enemy that has not yet unlocked Hypersonic BM, Iron Dome is the efficient answer because it sits quietly and one-shots cruise salvos. Against an opponent that has reached the late-game missile tiers, you need RA3's mobile tracking plus a second line of static AA to soak the saturation. The community-reported optimal pattern is two RA3s patrol-looping the high-value grid, with one Iron Dome covering the spawn shelter and a backup dome near the industrial core. That pattern also informs which city layout you want to build, because every dome needs clear line-of-sight to be worth its cost.
Sea Ram vs RA3, GLCM, and the Coastal Chip Damage Question
The Sea Ram vs RA3 comparison matters most for coastal city grids and island server wars, where your only long-range option might be a water-borne launcher. Sea Ram is a short-to-mid range ship-launched missile that can chip down coastal towers and pressure shoreline bunkers, but it loses to anything that brings dedicated naval AA. RA3, by contrast, is purpose-built to find and kill incoming missiles, which is why most coastal players pair Sea Ram with a separate RA3 umbrella instead of betting everything on a single platform.
When Sea Ram Earns Its Slot
Sea Ram makes sense in three concrete situations: a server war with a long, undefended coastline, a sandbox session where you are harassing a low-level neighbor, and a build order where you are stuck waiting for the MRBM unlock. Its damage per salvo is modest, but its fire rate lets it stack pressure, and it forces opponents to commit precious anti-air slots to their shoreline. If you want a quick first impression of how the projectile performs in practice, the Sea Ram test footage from Build and Conquer creators is a fair starting point, though most of those clips are V0.1 beta runs and may shift as the patch cycle continues.
Why Sea Ram Is Not a Top-Tier Pick
The reason Sea Ram sits in the B tier instead of climbing higher is that the moment a competent player adds two or three RA3s to their coastal AA grid, Sea Ram's value collapses. Each RA3 cuts a meaningful chunk of the Sea Ram's incoming salvos, and Iron Dome finishes the survivors. Sea Ram is also weaker than GLCM in a direct damage race against land-based bunkers, which means the only real reason to build it is to unlock a coastal angle that no other missile can reach. In a head-to-head against GLCM, Sea Ram trades range for mobility, and in most standard server war scenarios that trade is not worth it.
Building a Best City Layout Around Your Missile Choices
A best city layout in Build and Conquer is not just about pretty zoning. It determines how many missiles you can field, how quickly you can unlock them, and how hard it is for an enemy to roll through your AA. The V0.1 meta rewards a layout that supports both an industrial spine (for Hypersonic BM production) and a defensive ring (for RA3 and Iron Dome placement), with mid-rise apartments in between to keep population pressure manageable. Picking the right layout early saves you from rebuilding half your base when you finally unlock the late-game missile you actually wanted.
Zoning Priorities for a Missile-Heavy Build
A practical zoning split for a missile-heavy build looks like this in the V0.1 beta:
| Zone | Recommended Tile Share | Purpose |
|---|---|---|
| Industrial | 30-35% | Powers Hypersonic BM and GLCM production |
| Residential (mid-rise) | 20-25% | Steady population without over-spreading |
| Commercial | 10-15% | Income to fund missile research |
| Roads | 10-12% | Keeps missile site traffic flowing |
| Military / AA | 15-20% | Houses RA3 patrols, Iron Dome, bunkers |
| Buffer / Water | 5-10% | Prevents tight stacking, absorbs stray hits |
Sticking close to these ratios gives you a flexible base that can swap MRBM for Hypersonic BM without an entire rebuild, and it leaves room for the AA ring that every top-tier missile choice depends on. Detailed ratios and unlock-order tips live in the housing and zoning breakdown for V0.1, which is a useful cross-reference while you plan your next server war.
Connecting Layout Choices to the Unit Ranking
The Build and Conquer unit ranking does not exist in a vacuum. Every missile you pick has a tax on your city grid, and every AA platform you add takes up tile space that could have gone to industry. If you stack too many interceptors, your missile production slows and your opponent can out-tech you into the late game. If you stack too much industry and skip AA, the first cruise salvo ends your run. A balanced approach is the difference between climbing the server war ladder and stalling in the mid tiers, and that balance starts with the city layout, not with the missile choice.
Closing the Loop: How to Use This Ranking in Your Next Match
Putting the Build and Conquer missile ranking to work comes down to three steps. First, scout your opponent's AA grid and identify whether they lean on RA3, Iron Dome, or both. Second, match your missile pick to the gap you found: Hypersonic BM against layered Iron Dome setups, MRBM or GLCM against light AA, and Sea Ram only when the coastline is genuinely open. Third, plan your city layout around the missile you actually want to run in the late game, so you do not paint yourself into a corner with mid-rise apartments everywhere and no industrial spine.
Treat the tier placements in this guide as a starting point rather than a fixed truth. The V0.1 beta changes often, and any figure here can shift with the next patch. Re-test on your own server, log your own hit rates, and adjust the ranking to fit your playstyle. The missiles themselves are tools; the player who knows when to swap them is the one who climbs the ladder.
Frequently Asked Questions
Is Hypersonic BM really the best missile in V0.1?
Yes, based on logged match data and community testing during the V0.1 beta, Hypersonic BM sits at the top of the chart because it keeps a 78-82% hit rate even under heavy RA3 coverage and delivers 480-520 equivalent damage per direct hit. It costs more and takes longer to build than MRBM, but the trade is worth it in any server war past the early game.
How does RA3 compare to Iron Dome in the build and conquer best anti-air meta?
RA3 is a mobile interceptor that excels at wide coverage and tracking moving targets, while Iron Dome is a static point-defense umbrella that hard-counters cruise missiles like GLCM. The community-reported optimal pattern is to use both, with two RA3s patrolling the high-value grid and one Iron Dome covering the spawn shelter or industrial core.
What is the difference between GLCM and MRBM in the unit ranking?
GLCM is a longer-range cruise missile that excels at pressuring population centers and early-game pushes, while MRBM is a mid-range ballistic option with cheaper build costs but weaker performance under heavy AA. GLCM sits in the B tier because Iron Dome shuts it down reliably, and MRBM sits in the A tier because it can break through lighter AA more consistently.
When should I pick Sea Ram over a land-based missile?
Sea Ram earns its slot when you are fighting a server war with a long undefended coastline, when the enemy has not invested in naval AA, or when you are stuck waiting for the MRBM unlock. In any other scenario, a land-based missile like GLCM or MRBM will give you more damage per salvo and a better return on your industrial investment.
How do I plan a best city layout for a missile-heavy build?
A missile-heavy best city layout uses roughly 30-35% industrial tiles, 15-20% military and AA tiles, 20-25% mid-rise residential, and the rest split between commercial, roads, and buffer zones. This split keeps population steady, leaves room for RA3 and Iron Dome placement, and gives your missile production the industrial spine it needs to reach Hypersonic BM before the late game.